Raspberry Pi 5 // meet the board
The Raspberry Pi 5 is the computer the node runs on: a full 64-bit Linux machine on a single board, 85 by 56 millimeters. Click any numbered marker to see what each component is and the job it does in the build.
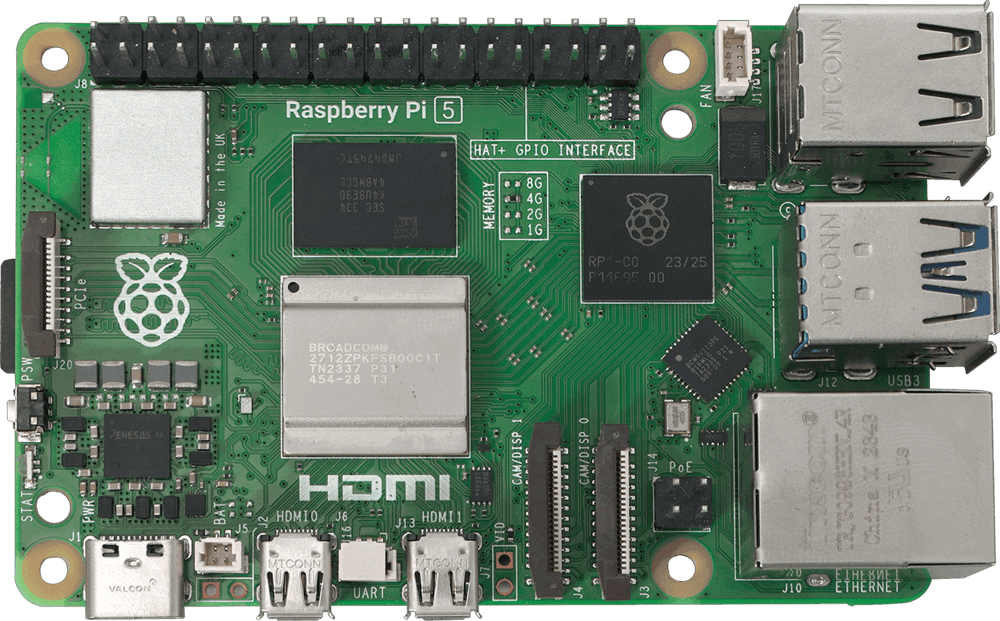
Raspberry Pi 5
This is a complete Linux computer on one board, and it runs the whole service stack at once. Click any marker to see what a part is and the job it does in the build.
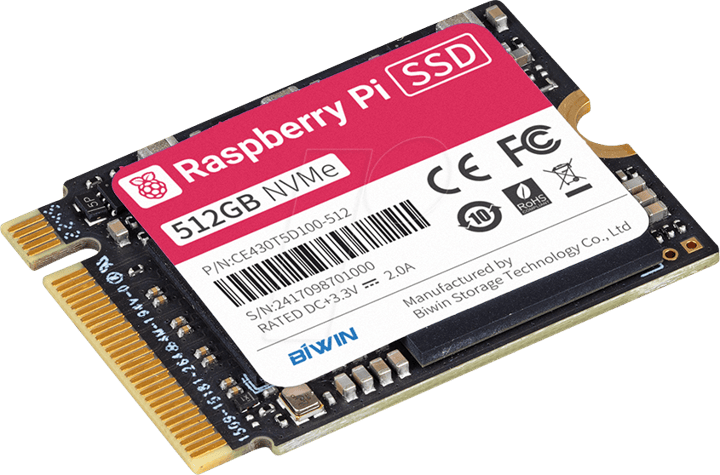
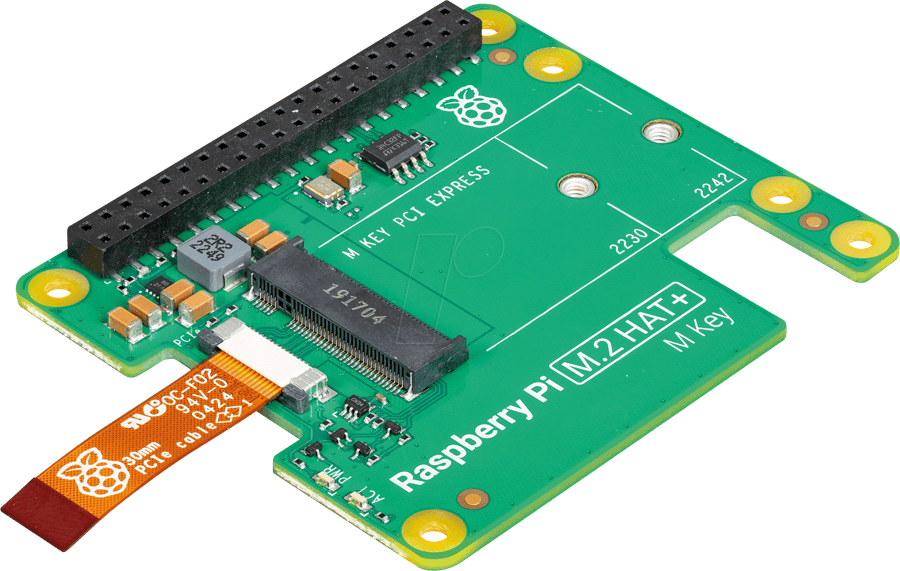
The node boots from a microSD card once, then the operating system moves to an NVMe SSD for speed and endurance. The SSD mounts on an M.2 HAT, and the HAT connects to the Pi 5 over the PCIe connector on the left edge of the board.
The 40-pin header carries power (3.3V and 5V), ground, and general-purpose pins that also serve I2C, SPI, UART, and PWM. The networking build does not use it; it is the interface you work with in the Electronics skill.

Pinout reference: raspberrypi-spy.co.uk. The Pi 5 uses the same 40-pin layout.
The Raspberry Pi has no built-in drive. It boots from a card you write yourself, then moves the system to a faster, longer-lived SSD. You do all of this from your laptop, with no monitor attached to the Pi.
Image the card
Use Raspberry Pi Imager to write Raspberry Pi OS Lite (64-bit), the server build with no desktop. Before you write the card, open the settings and set the hostname, your username, and your SSH public key, and turn SSH on. The Pi then boots ready to reach over the network, with no monitor ever attached.
First boot, headless
Seat the card in the Pi, then connect the Ethernet cable and the 27W USB-C power supply. The Pi boots on its own and joins the network. Once it is up, find it by the hostname you set:
$ ping node.localUpdate and enable PCIe Gen 3
Update the system to the latest packages, then raise the PCIe link to Gen 3 so the NVMe drive runs at full speed.
$ sudo apt update && sudo apt full-upgrade -y $ echo 'dtparam=pciex1_gen=3' | sudo tee -a /boot/firmware/config.txt $ sudo rebootMove the system to NVMe
Install the M.2 HAT with an NVMe SSD, copy the running system onto the SSD, then set the boot order to try NVMe first. The microSD card becomes recovery media from this point: it is slower and wears out over time, whereas the SSD does neither. rpi-clone is not preinstalled, so fetch it first.
$ git clone https://github.com/geerlingguy/rpi-clone $ sudo cp rpi-clone/rpi-clone rpi-clone/rpi-clone-setup /usr/local/sbin $ sudo rpi-clone nvme0n1 $ sudo raspi-config # Advanced > Boot Order > NVMeThe node runs with no screen and no keyboard, so you operate it entirely over the network. You lock that access down before the node can be reached from outside your own network.
SSH on the LAN
From your laptop on the same network, open a terminal and connect to the Pi. You accept the host key the first time you connect, and from then on you have a shell on the Pi.
$ ssh [email protected]Keys, then no passwords
You added your key when you imaged the card. Confirm that it logs you in without a password prompt, then turn password login off entirely, so the only way in is your key.
$ sudo sed -i 's/^#\?PasswordAuthentication.*/PasswordAuthentication no/' /etc/ssh/sshd_config $ sudo systemctl reload sshClose the rest, reach it privately
A firewall denies every connection you have not explicitly allowed, and fail2ban blocks hosts that keep retrying. Remote access then runs over the VPN you set up later, so the node is reachable from anywhere without forwarding a single port to the public internet.
$ sudo ufw default deny incoming $ sudo ufw allow from 192.168.8.0/24 to any port 22 $ sudo ufw enable